Solar Power for Your Home: A Step-by-Step Guide to Installation in the Arabian Gulf
If you live within the GCC region—be it Riyadh, Jeddah, or across the Emirates—you know the kind of relentless sunshine we experience. It’s a gift—a powerful, consistent resource that has the potential to transform how your villa or compound is powered. But looking at those bright panels on a rooftop can feel overwhelming. How do you actually get them working? Is it complicated?
Don't worry. While solar energy itself is simple physics captured by brilliant technology, the process of installing a full system involves several distinct steps—from drawing up blueprints to flipping the final switch. Think of this guide as your blueprint for understanding how it all works. We want you to feel confident knowing exactly what happens from day one until your home is running on clean, reliable power.
We understand that when facing high electricity bills and thinking about energy resilience—especially given the intense heat fluctuations across the Arabian Gulf—you need absolute clarity. Here is everything you need to know about how solar panel installation works, step by step.
Understanding Solar Installation: The Planning Phase
Before a single piece of hardware is lifted onto your roof, significant planning happens behind closed doors. This initial assessment is the most critical phase because it determines if the system will be sized correctly and safely integrated into your existing villa structure. You wouldn’t build a massive yacht without first checking the depth of the harbor; solar installation is no different.
1. Energy Assessment: Figuring Out Your Needs
The first step involves determining your energy profile—that means understanding exactly how much electricity your household consumes over a typical month. This isn't just about looking at last month’s bill; it requires analyzing usage patterns for high-draw appliances like air conditioning units, water heaters, and refrigerators.
A professional will calculate your average daily consumption in kilowatt-hours (kWh/day). They might ask you to run a baseline load test. This ensures that the system we design isn't just big enough to power the lights, but robust enough to handle peak demands, such as running multiple AC units simultaneously during the hottest parts of the day when temperatures can exceed 45°C.
2. Site Assessment: Checking the Rooftop
Next, the focus shifts to your physical structure. The installer needs to conduct a structural check. This is crucial because solar panels and their mounting hardware add significant weight to your roof. A qualified engineer will assess the roofing material, the underlying structural elements (like beams or trusses), and the overall integrity of the compound. They need assurance that the system can withstand not only the added weight but also local environmental stresses, such as strong winds or accumulated fine desert sand during a haboob storm.
Furthermore, they analyze the roof's orientation and shading potential. Ideally, your roof faces south (in the Northern Hemisphere) or has a consistent exposure to sunlight throughout the day. Any significant shade from adjacent buildings or large trees can drastically reduce efficiency, much like trying to read a book under patchy cloud cover.
Gulf Life Analogy: Think of this planning phase as getting your car serviced before a long desert drive out toward the Eastern Province. You don't wait until the engine overheats in the middle of nowhere; you check the tires, oil, and fluids when it’s easy to do so. The same careful preparation prevents costly failures later.
Navigating Permits and Approvals in the GCC Region
Because solar energy connects directly to your home's electrical grid (the main utility supply), local authorities take this process very seriously. Understanding the regulatory framework is non-negotiable, and adherence to these rules protects both you and the overall power infrastructure.
In the GCC region, every homeowner must navigate specific utility standards set by local providers (like DEWA in Dubai or SEC in Riyadh). The permitting process involves several key submissions:
- Technical Feasibility Study: This is where the system designer proves that the proposed size and type of solar array can operate reliably with your home's electrical load.
- Structural Sign-Off: Local building authorities must sign off on the engineer’s assessment, confirming the roof can bear the load.
- Utility Interconnection Agreement: This is perhaps the most important document. It is an agreement between you, your installer, and the local utility company that allows excess power (the extra electricity generated when you produce more than you use) to safely flow back into the main grid—a process called net metering or grid synchronization.
The key takeaway here is patience. While it may feel slow, proper permitting ensures that your system meets all local building codes and utility standards. If you are looking for reliable assistance with this complex paperwork, many homeowners find that partnering with a highly reputable contractor, perhaps researching the best solar company in Saudi Arabia or the UAE, can streamline this process significantly.
The Step-by-Step Physical Installation Process
Once all permits are secured and approved, the physical installation begins. This involves several specialized components working together to capture sunlight and deliver usable electricity inside your home. Let’s break down what those parts are before we look at how they get mounted.
The Components: What Are We Installing?
Solar Photovoltaic (PV) Panels: These are the visible panels on the roof. They contain semiconductor materials that convert sunlight directly into Direct Current (DC) electricity. Think of them as the energy collectors, capturing every photon they can.
Mounting Hardware/Racking: This is the physical framework—usually aluminum or galvanized steel rails—that attaches the panels securely to your roof structure while allowing for proper spacing and drainage. It must be engineered to withstand the intense heat and occasional dust storms of the Arabian Gulf.
Inverter (Solar Inverter): Think of your solar inverter like the translator between your panels and your home—without it, all that energy the sun provides would simply have nowhere useful to go. The PV panels produce DC electricity (Direct Current), but most modern compounds run on Alternating Current (AC) electricity (the type provided by the utility grid). The inverter’s job is to take the raw DC power and flawlessly convert it into usable AC power.
Batteries (Optional): If you want energy resilience—meaning you can keep your lights on even if the main grid goes down—you will install a battery bank. Batteries are large chemical storage units that store excess electricity generated during the day for use at night or during an outage.
The Installation Flow
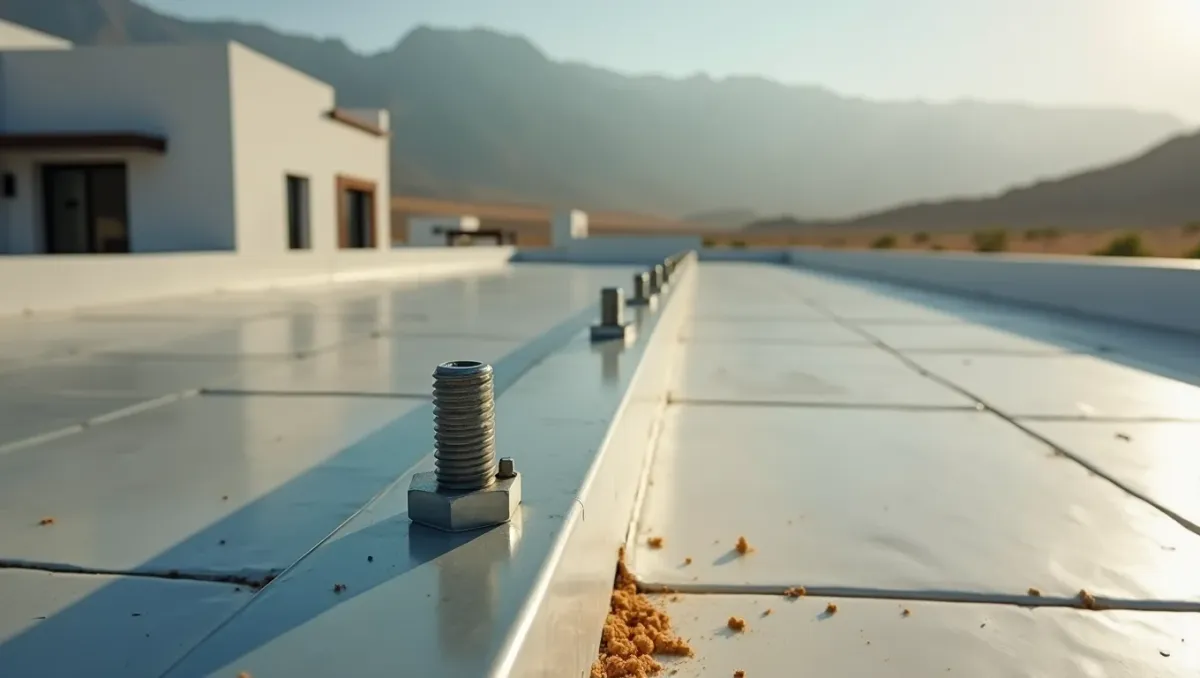
- Racking Setup: The skilled crew first installs the mounting hardware (racks) onto the roof structure. These rails must be bolted securely to withstand high winds and are designed to minimize penetrations into the roof itself.
- Panel Placement: The PV panels are then carefully laid onto these racks, often arranged in rows or optimized patterns determined during the planning phase. Proper spacing is key to maximizing sunlight capture throughout the day.
- Wiring Connection (DC Side): Specialized, UV-resistant wiring connects all the panels together in series and/or parallel strings. These wires carry the raw DC power from the array toward the inverter.
- Inverter Installation & Wiring (AC Side): The central inverter is mounted in a cool, dry location—usually a garage or utility room—to protect it from the harsh ambient temperatures of the Arabian Gulf. High-gauge wiring then connects the converted AC electricity from the inverter to your home's main electrical service panel.
- Battery Connection (If applicable): If batteries are installed, they are connected directly to the inverter system, creating a reliable backup power path.
Commissioning Your System: From Setup to Self-Sufficiency
The physical installation is only half the battle; getting it operational requires rigorous testing and formal approval. This final phase is called commissioning.
1. Internal Testing: The certified technicians first test every connection, wire, and component within the system. They check that the wiring resistance is low, that the inverter is reading power correctly, and that the entire system operates safely under simulated load conditions. This ensures everything works together seamlessly.
2. Utility Inspection: The local utility provider or an authorized inspector conducts a final review. They are checking compliance—making sure the physical installation matches the approved plans and meets all safety standards, especially regarding how the excess power will safely feed back into the grid (the interconnection point).
3. Grid Synchronization and Activation: Once all inspections pass, the utility company formally connects your system to the main electrical lines. This is when the "switch" is flipped. The inverter monitors the local grid's voltage and frequency and synchronizes itself perfectly (often following SEC or SEWA protocols). Suddenly, the raw power from the sun, translated by the inverter, begins flowing into your villa’s circuits. You are now generating clean, reliable energy.
Gulf Life Analogy: Think of commissioning like receiving your car keys after a major overhaul. The mechanic doesn't just say, "It's done." They take you for a test drive on a variety of roads and speeds to ensure that every system—the brakes, the engine, the lights—works together perfectly under real-world conditions.
What This Means For You
The entire process is designed to be seamless, but understanding these steps empowers you as a homeowner. The biggest change in mindset should be viewing solar not just as an appliance, but as a sophisticated energy ecosystem. Knowing that the planning phase (assessment and permits) is just as important as the physical installation reduces anxiety and sets realistic expectations.
The focus on self-sufficiency is growing across the GCC region, especially with major initiatives like Vision 2030 driving sustainable growth in industrial cities such as Jubail and KAEC. Solar gives you control over your power source, protecting you from volatile utility rates and enhancing energy security for your villa or compound. By understanding these steps, you are better positioned to discuss requirements with any professional contractor and ensure that the final installation is robust, safe, and perfectly tailored to your family's needs.
Your Next Three Action Steps
- Conduct a Preliminary Audit: Before contacting anyone, gather at least three months of electricity bills. This gives any professional a solid baseline for determining your actual energy consumption profile in Riyadh or Jeddah.
- Evaluate Your Rooftop Potential: Take clear photos or videos of your roof from multiple angles and note where potential shading sources (trees, adjacent buildings) might be located. This helps you gauge the site's natural sunlight availability against the region's high solar resource average.
- Consult a Qualified Professional: Seek out local experts who specialize in renewable energy systems within the GCC. Ask them to walk you through their entire process, from initial assessment right up to final utility interconnection, ensuring they are familiar with all current local building codes and SEC/SEWA regulations.
Related articles
- Finding Your Path to Energy Independence: A Homeowner’s Guide to Selecting a Top Solar Installer in the Kingdom of Saudi Arabia
- Optimizing Home Comfort: Heating Efficiency in the Arabian Gulf Climate
- Optimizing Industrial Resilience: A Buyer’s Guide to Battery Storage for Commercial Solar in the Arabian Gulf
- Powering Tomorrow: Saudi Arabia’s Pivotal Shift to Renewable Energy
- The Utility Advantage: A Commercial Buyer’s Guide to Solar Farm Investments in Saudi Arabia
Explore topics: Installation, Gulf, Renewable Energy
The information in this article is for educational purposes only. Always verify specifications, availability, and suitability with a qualified supplier or engineer before making purchasing or installation decisions.